

Welcome to the Pumpkin Patch Tutorial!
I’ve wanted to make these cuties for a while now, but it’s already been done, right? Here is quick and easy fresh look on hand sewn pumpkins!

You will Need:
*cotton fabric cut into circles (9” diameter) varying sizes would also work
*pleather (2.5” squares)
*flossing/embroidery thread (roughly 2.5’ length)
*large eye needle
*stuffing (RIP stuffed animal. Thank you for your sacrifice)
*hot glue gun
*scissors

RUnning stitch
Do a simple running stitch all the way around one circle. I used regular sewing thread in image and quickly learned I needed to use flossing!

PulL and fill
Gently pull the thread to bring the ends together. Fill with stuffing to the desired size of pumpkin. Create a knot and tie it off. After you’re sure it’s secure, DO NOT CUT OFF EXCESS THREAD!
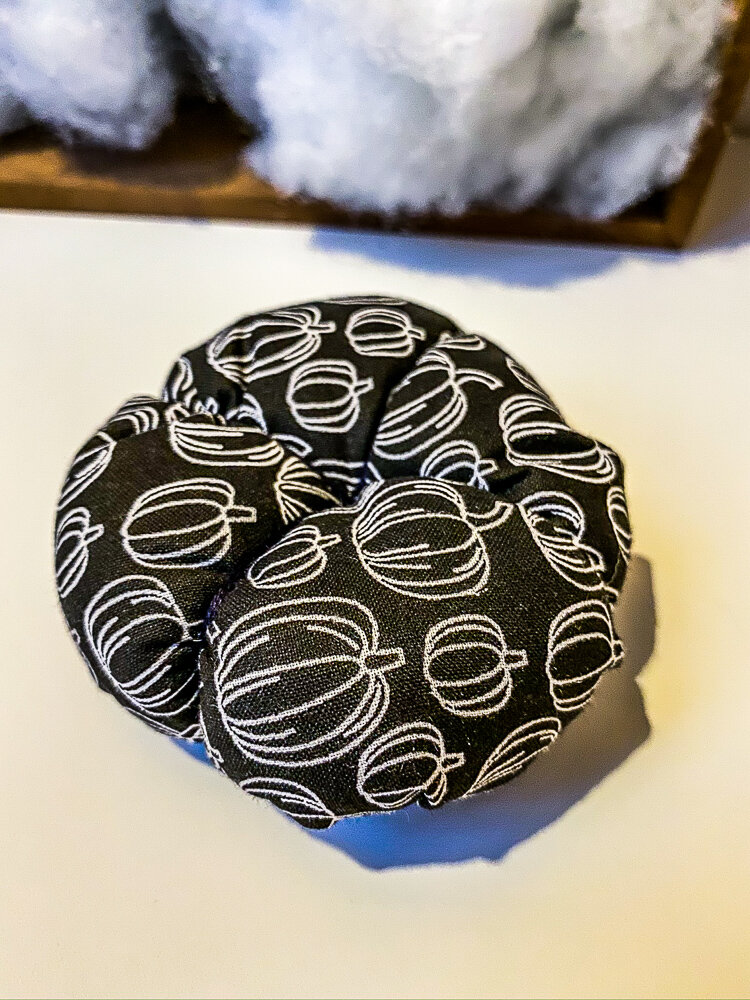
EVERY PUMPKIN IS UNIQUE
I know. Snowflakes are unique. But I’m willing to bet no two pumpkins are identical. Gourda love ‘em!
Use the excess thread to pull through the bottom opening you’ve just sewed up and push it straight through the top. Then wrap the thread down and over a side, coming up through the bottom again. Do this until you have your pumpkin sections. If you run out of thread, knot it off and add what you need. No biggie!
You may want to add a fabric circle to the bottom to cover where you stitched the pumpkin up. That can be hot glued at the same time as the stem.

Fire up the hot glue gun
For the stems, I like the contrast of pleather and it’s fabric backing. I ran a stream of hot glue down the center and rolled along the line, from one corner to the next.

Look at that cannoli
Wait for the glue to dry.

That’s a two’fer
I like cutting the stem slightly off center to get varying heights, but centered is fine. You may need to reglue any sections that come undone. I prefer regluing at this point so I’m not cutting through layers of glue. Now you have two stems! You did it!
Hot glue the bottom of the stem and firmly place on top of pumpkin and hold. Now’s the time to glue the fabric circle to the bottom, covering your stitches.

Voila
Sit back and enjoy your gourdy bunch. You can easily add drops of your favorite fall essential oils to spruce up the place in super subtle ways. Use colors that match varying schemes. Live. It. Up.